 |
|||||||||||
|
Dormer windows jut out from a roof with their own roof that can be a variety of shapes and styles. The word dormer comes from the Latin dormitorium, which means sleeping room, and subsequently from the French word dormir to sleep. When French architect François Mansart introduced the Mansard roof, dormers were used so that people could take advantage of the additional sleeping areas under the roof and still have light and ventilation. (This might be a good time to remind you of the Illustrated Architectural Glossary, which can clear up any questions you have about architectural terms.) |
|||||||||||
| If you've done the
Building House Parts on roofs
tutorial, you are aware of the basic shapes of roofs. This tutorial is
therefore a good excuse to introduce architectural styles that use those
shapes. After Americans started building cottages that were more than refuges from the storm, they began to introduce dormers. Attics became more than storage spaces. Since there were so many gabled roofs, many dormer windows on the upper floor used the same type of roof over the window. The name of the roof over a dormer window comes from the name of a roof shape, but folks are bound to mix and match dormer roofs. Less common inset or recessed dormers create a different look because they are set back into the roof. If they are set back flush with the wall above or below the cornice line, they are called wall dormers. Wall dormers tend to feature highly ornamental surrounds. |
|||||||||||
| Creating a dormer window in Paint Shop Pro is exactly the same as creating a roof -- with one exception. While a house roof is created over a vertical wall, the side walls of a dormer window usually follow the pitch of the roof it's on. | |||||||||||
Remember to save your work after every layer. |
|||||||||||
|
|||||||||||
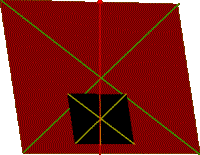 |
If you need a refresher on how to find the center of a
parallelogram, check out
this tip.
Note how the footprint of the dormer window is placed on the roof. I know that it doesn't look right. |
||||||||||
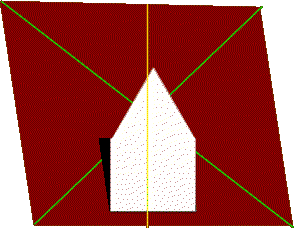
| It's going to look less correct for a while. (This roof has its bottom edge parallel with the line of the horizon and its top edge is somewhat deformed.) |
 |
||||||||||
 |
|
||||||||||
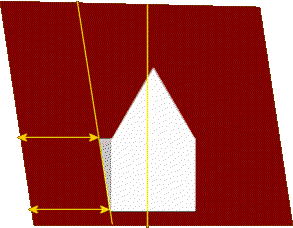
| Notice where the actual side of the dormer window is in
the illustration above. If you make a scrap layer and draw a line on the left angle of the roof, you can move it over to the size, where you can see that the side of the dormer window follows the side of the roof. |
 |
||||||||||
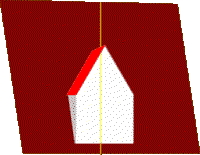 |
Since you have a back, front, and side, you can now put on
a roof. It starts at the peak of the back, follows to the front peak, then
down to the front left side, horizontally to the back left side, and back
up to the starting point. Now is the time to put in the actual window and any decoration, as well as to give the roof its right side. When you're finished, merge all the dormer window layers. |
||||||||||
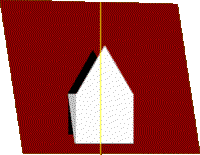
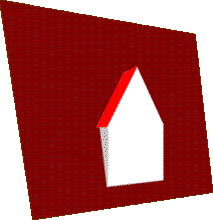
| It's starting to look better.
If you change the perspective further, the whole thing starts to make sense to your eye. |
 |
||||||||||
| If you want to know where specific types of dormer windows live, check out some Dormer Lore. | |||||||||||
